
PRODUCT LIST
- Calendars
- Appointment Booking Calendar
- Booking Calendar Contact Form
- CP Multi View Calendar
- Content Tools
- Music Store
- Sell Downloads
- Image Store
- Search In Place
- Theme Switch in Mobile and Desktop
- Corner Ad
- Loading Page
- CodePeople Post Map
- Related Posts
- Music Player for WooCommerce
- Music Player for Easy Digital Downloads
- Galleries
- Smart Image Gallery
- Forms
- CP Contact Form with PayPal
- Calculated Fields Form
- CP Easy Form Builder
- Contact Form to Email
- CP Polls
- Payment Form for PayPal Pro
- Themes
- CodePeople Light
- Food & Diet
- Custom requests
- Quote for custom Calculated Fields formulas

Product type: Wordpress Plugin
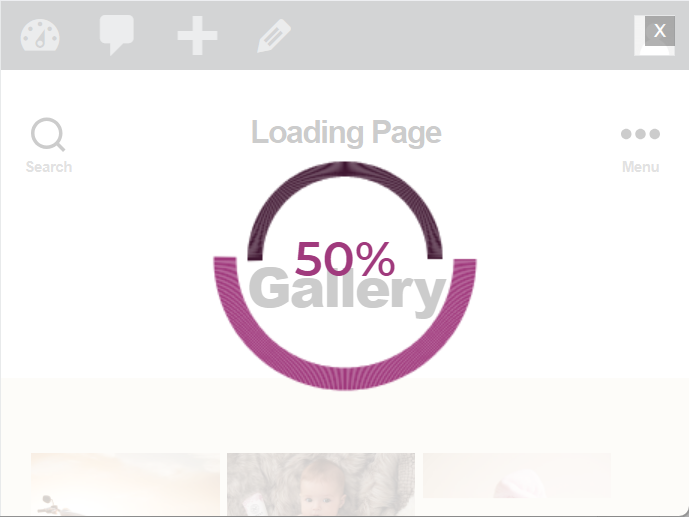
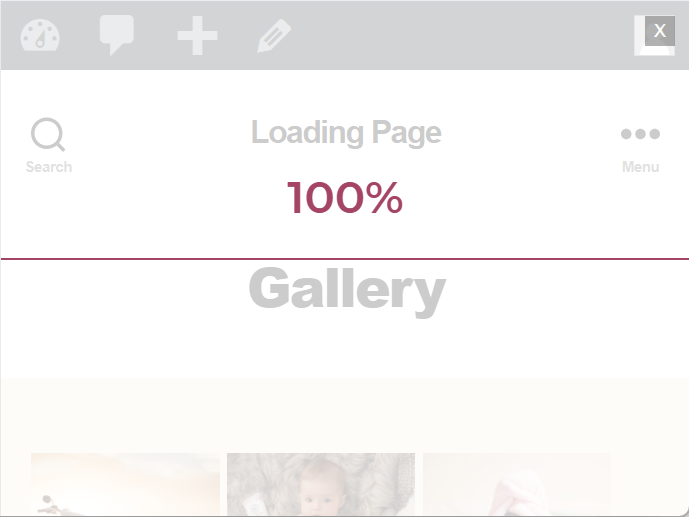
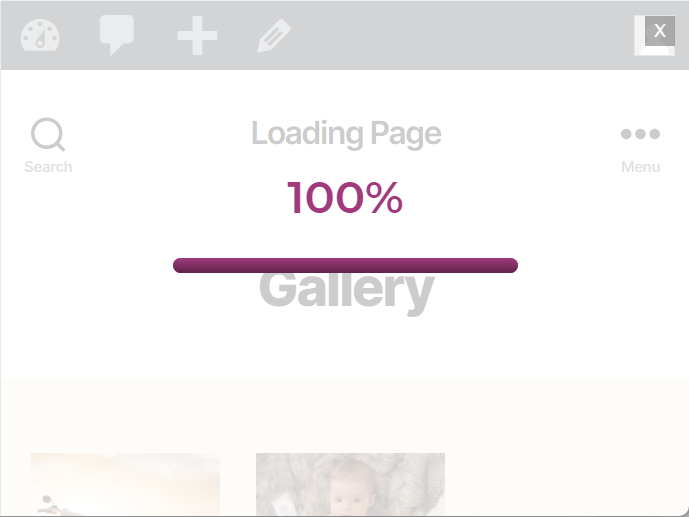
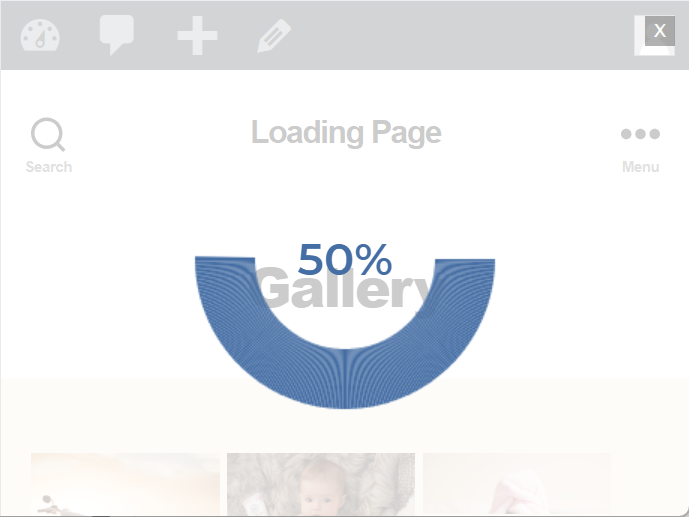
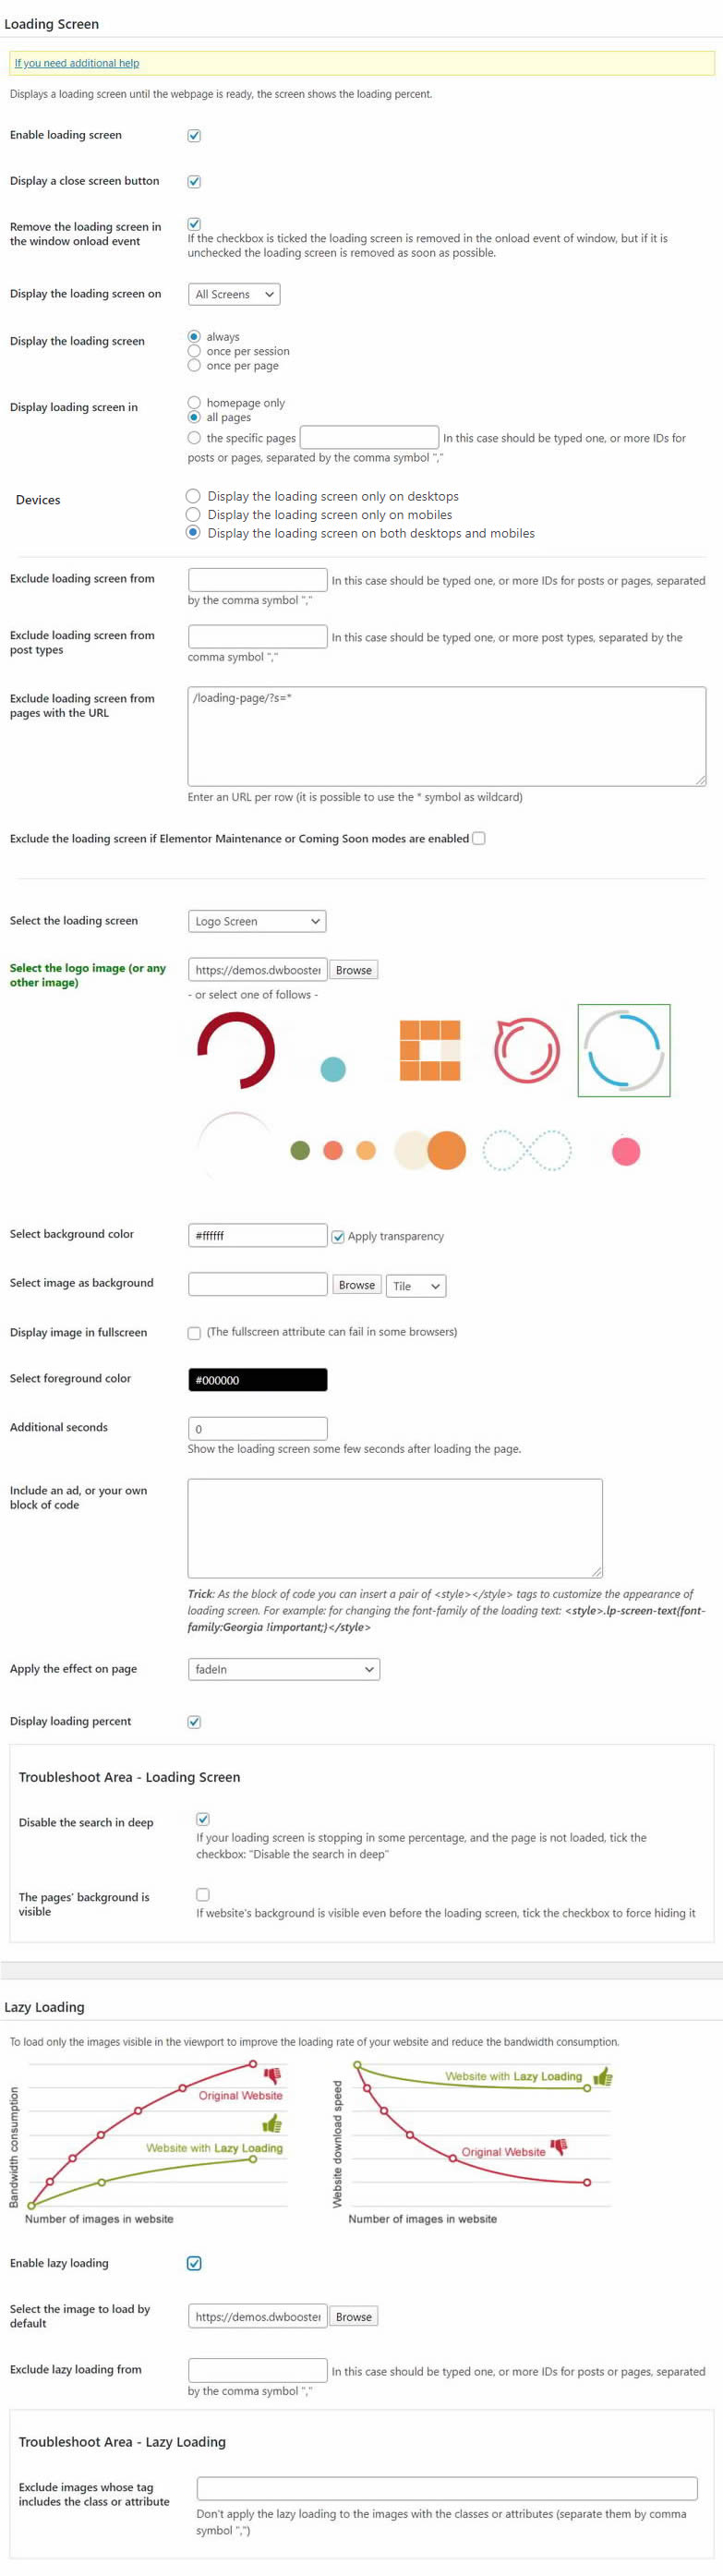
Loading Page

Loading Page plugin performs a pre-loading of images on your website and displays a loading progress screen with percentage of completion. Once everything is loaded, the screen disappears. With Loading Page is possible to configure a Lazy Loading of website's images, making the loading process of your website faster.
FEATURES
Main Features:
- Displays a screen showing loading percentage of a given webpage.
- Allows to choose a loading progress screen.
- Special attention to the "Logo Screen", which allows using the website's logo or any other image in the loading process, and the "Text Screen" which displays an animation with the website title or another short text.
- Allows to display the loading screen only on the homepage, all pages, or specific pages and posts of the website.
- Allows to select the colors of the loading progress screen.
- Allows to display or remove the text showing the loading percentage.
- Allows to display an image as the loading screen background. The image can be displayed tiled or centered
- Allows to display the page's content with an animation effect, after complete the loading process
- Lazy Loading feature allows to load the website faster.
- Allows to select an image as a placeholder, to replace the real images during pre-loading.
Available structures of loading screen
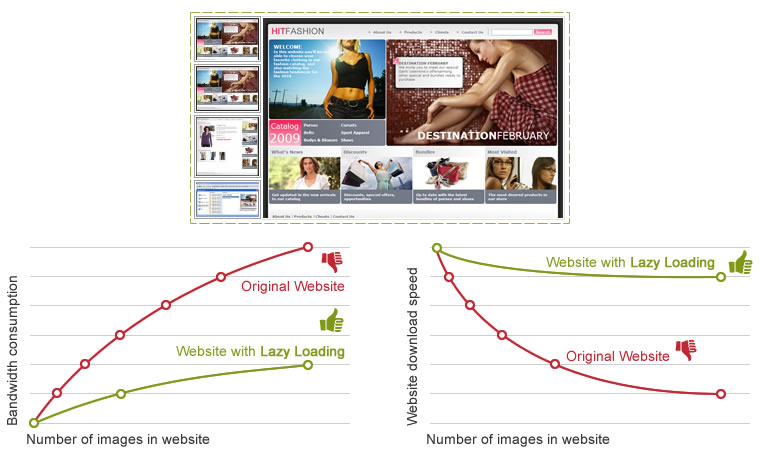
What is Lazy Loading?
Lazy Loading means that original images are not loaded until finalizing the loading of the page. This action improves the download speed of webpages.
Live demo
You can test the following live demo of the pro version:
DOWNLOAD
Basic Version
Free
- Includes the Bar, Logo, and Text loading screens
- Doesn't allow to use Lazy Loading, so it is not possible to get the advantages to increase the page loading speed
- Doesn't include personalized technical support (60 days of support service can be purchased for EUR 25)
Direct download link.
No registration required.
No registration required.
Professional
Version
EUR
€19
.99
- Allows to select between multiple loading screens
- Allows to select between multiple animation effects to display the page's content after completing the loading process
- Allows to use lazy loading increasing the loading page speed
- Includes 60 days of personalized technical support
|
After payment you will be redirected to a direct-download page and the download link will be emailed to the payment address.
The cost of the pro version is a one-time payment required to download it. The one-time payment gives you right to use the plugin in your websites for an unlimited time, access to future updates and access to 60 days of free technical support. |